Running Check-In on Event Day
Running Check-In on Event Day
This article covers what to do on event day once your equipment is set up and tested. You’ll get your iPads into kiosk mode, ready your registration desk, check attendees in, handle the day-of adjustments that come up (reprints, printer changes), monitor numbers in the Dashboard, and pull a report afterward.
For initial equipment setup, see Setting Up Your Zebra Kiosk or Setting Up Your Epson Kiosk. For configuring the Kiosk Profiles applied below, see Customizing Your Check-In Experience with Kiosk Profiles.
Use of PheedLoop OnSite for badge printing requires the OnSite Check-In Power-Up.
Contents
- Getting your iPads into kiosk mode
- Setting up your registration desk
- Checking in attendees
- Switching printers during the day
- Reprinting badges
- Monitoring live check-ins
- Pulling a check-in report
Step 1 — Get your iPads into kiosk mode
Do this for each iPad at your registration desk before doors open.
1.1 — Log in to PheedLoop OnSite
1.1.1 - From the iPad, open the black PheedLoop OnSite app.
1.1.2 - Enter your Event Code or Custom URL Extension and select Go.
- Both are found in the Event Dashboard under General > Details.
1.1.3 - Log in with a Team Member or Staff Member’s credentials, then select Login to OnSite.
Anyone on your PheedLoop account (Team Members) can log in without any additional setup. For reg desk staff or volunteers who aren’t on your account, you’ll need to create Staff Member credentials first. See Creating Staff Members for PheedLoop OnSite.

1.2 — Connect your Kiosk Profile
1.2.1 - From the OnSite home screen, select Check-In.
1.2.2 - Under Setup, select Kiosk Profiles.
1.2.3 - Under My Kiosk, select Connect next to the profile for this iPad.
Each iPad can run a different profile. If you haven’t set up Kiosk Profiles yet, see Customizing Your Check-In Experience with Kiosk Profiles.
1.3 — Confirm your printer
1.3.1 - Under Setup, select Printers.
1.3.2 - Confirm the correct printer appears and shows as connected.
If no printer is showing, make sure the printer is powered on and the iPad is on the same network. For troubleshooting, see Zebra Printer Not Working? Step-by-Step Help or Epson Printer Not Working? Step-by-Step Help.

1.4 — Enter Kiosk Mode
1.4.1 - Select Enter Kiosk Mode at the bottom of the Setup screen.
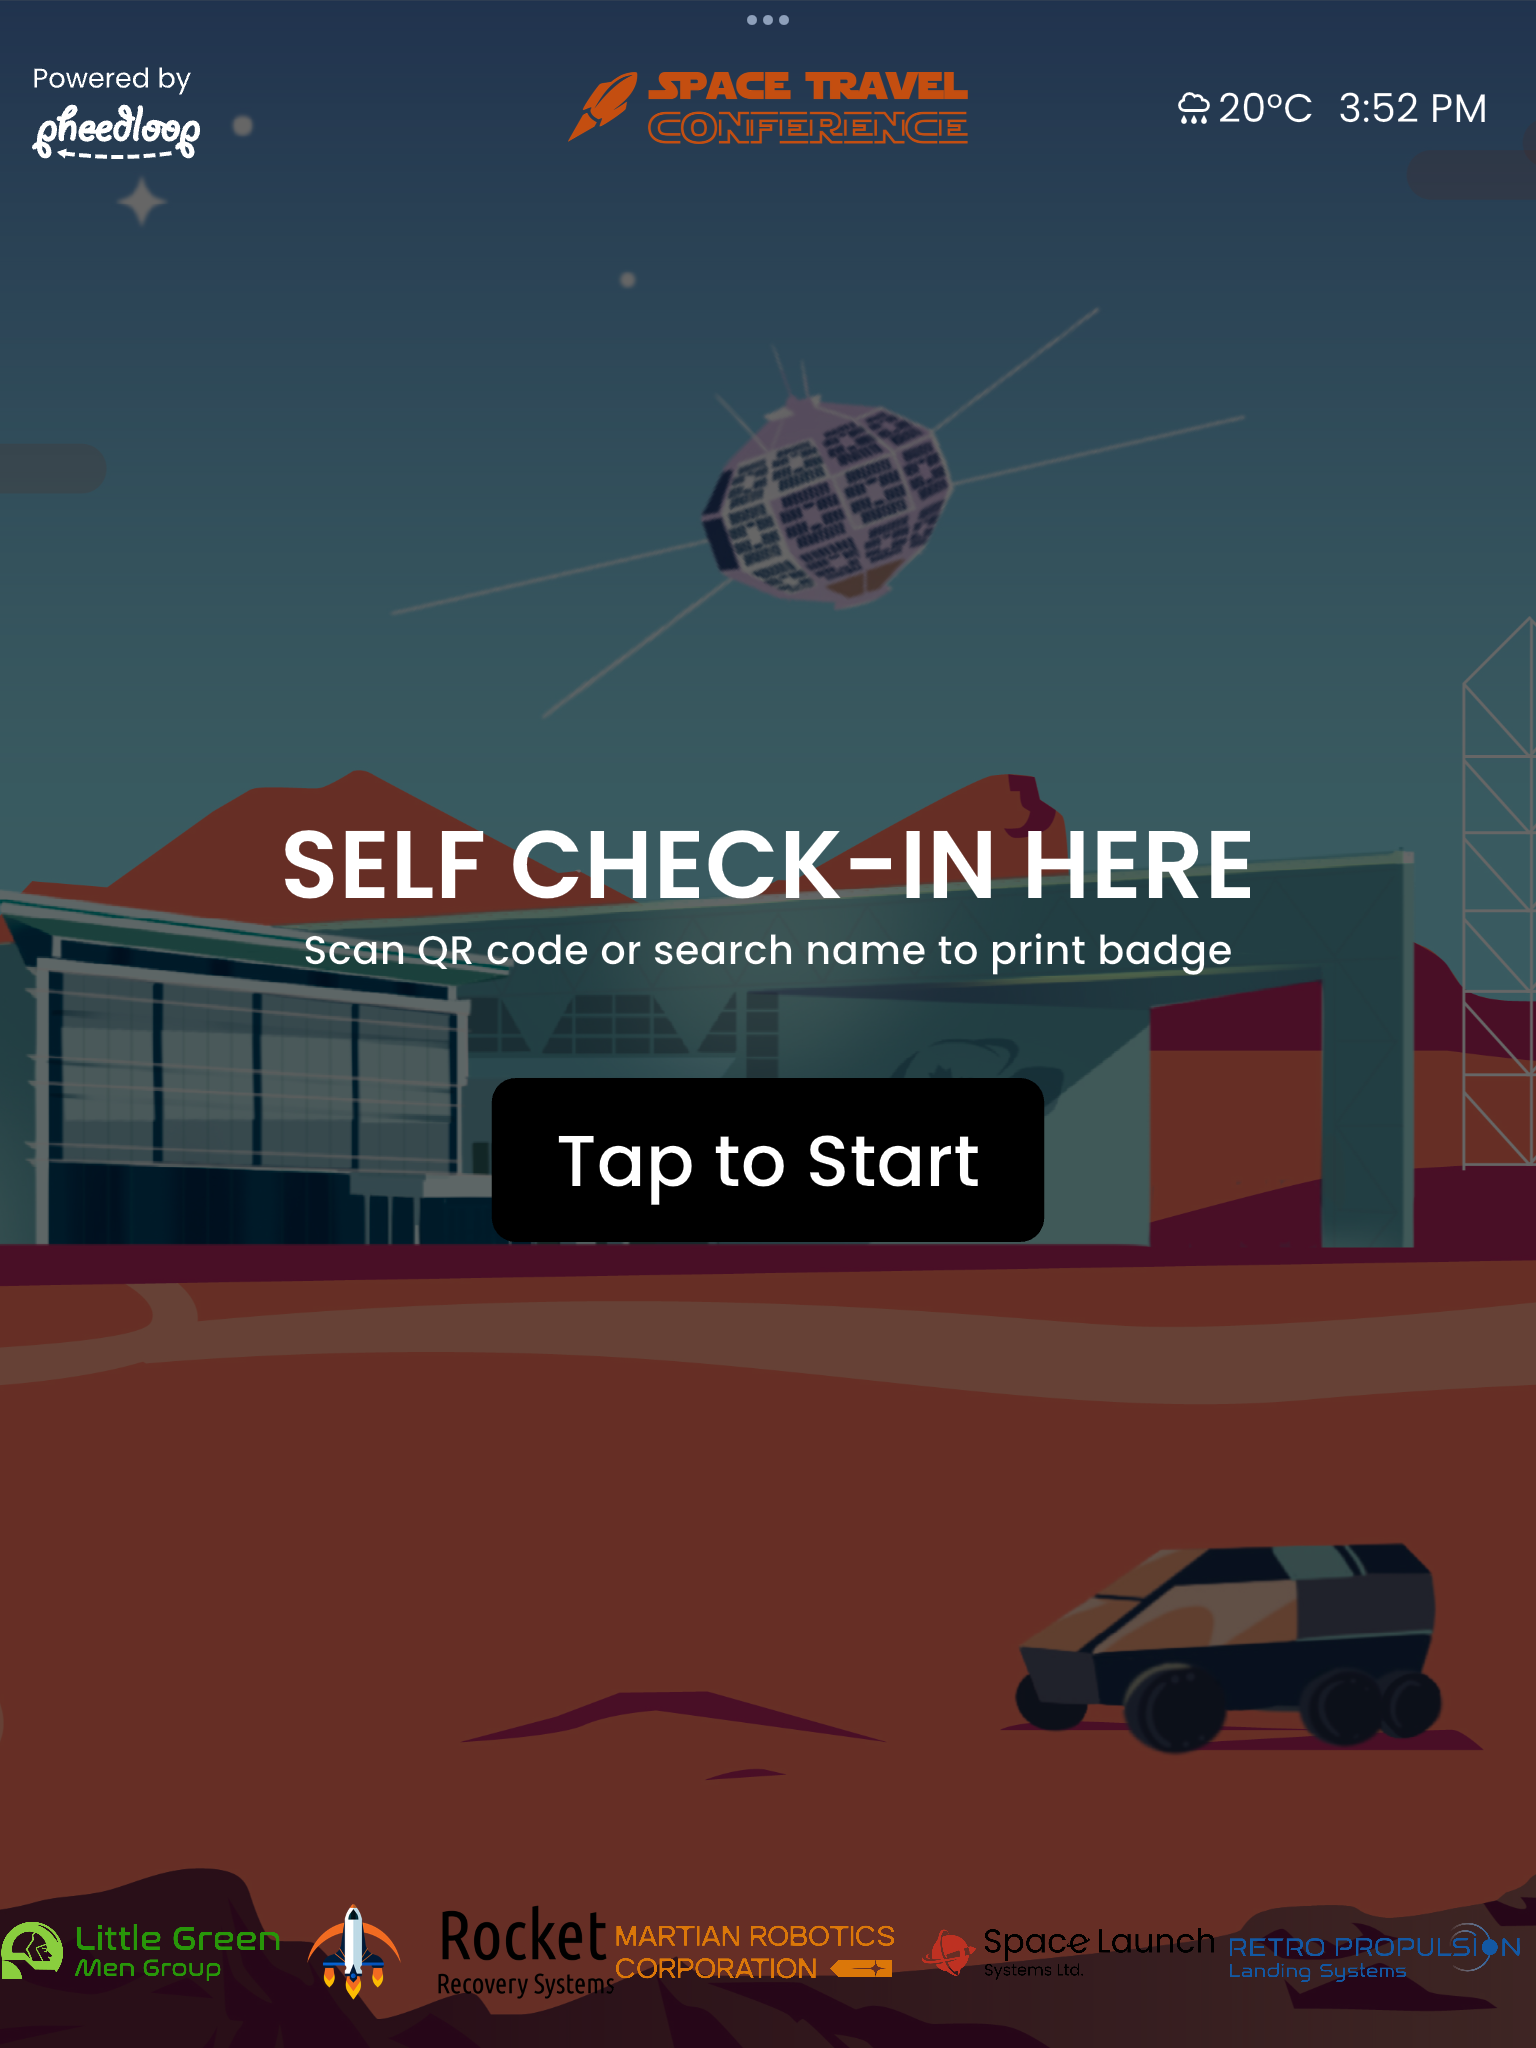
The kiosk splash screen will appear. The iPad is now ready for attendees to check themselves in.
Step 2 — Set up your registration desk
With the iPads in kiosk mode, take a few minutes to get the physical desk ready before attendees arrive.
Keep iPads plugged in. Kiosk mode runs all day — connect each iPad to power before doors open so battery isn’t a concern. Power cables are included in the kiosk.
Adjust screen settings if needed. If the screen brightness is too low for your venue lighting, or if the iPad is timing out too quickly between attendees, adjust these in the iPad’s native Settings app:
- Brightness: Settings > Display & Brightness.
- Auto-lock timeout: Settings > Display & Brightness > Auto-Lock — set to Never for a kiosk that should always stay on.
Set up your badge collection area. Badges print automatically as attendees check in. Make sure there’s a clear space next to or below each printer where printed badges land, and that staff know where to direct attendees to collect them.
Set up your lanyards and swag. Have these stocked and within reach at the desk. Decide whether your staff will attach lanyards or whether attendees will do it themselves.
Brief your desk staff. Key things for staff to know:
- How to help an attendee who can’t find themselves in search (check spelling, check maiden/preferred name, look up by organization).
- Where attendees can find lanyards and swag.
- Which iPad or lane handles walk-ins and on-site registrations, if applicable.
- Which event organizer to contact if a printer needs more badge stock or goes offline.
Step 3 — Check in attendees
Attendees self-check at the kiosks. A few alternative methods cover events without kiosks, dedicated staff-assisted lanes, and one-off manual check-ins from the back office.
3.1 — Self-service check-in at the kiosk (primary method)
The kiosk is the primary check-in flow for events with badge printing. An attendee taps the splash screen, then either scans their QR code or searches by name to find themselves. Their badge prints, and they collect it from the printer.
Which input options appear is controlled by the Kiosk Profile assigned to that iPad:
- Scan QR Code — attendees scan the QR code from their registration confirmation email or the PheedLoop Go app. Hidden when Hide Scan Option is toggled on in the profile.
- Search — attendees type their name, email, or organization. Hidden when Hide Search Option is toggled on in the profile.
Most events leave both options available. Hide one if you want to force a specific flow (scan-only for faster check-in at busy entrances, search-only if QR codes aren’t reliable in your registration setup).
For the full list of profile settings that affect the kiosk experience, see Customizing Your Check-In Experience with Kiosk Profiles.

3.2 — Staff-assisted check-in at the kiosk
Set aside an iPad in regular (non-kiosk) mode if you want a dedicated staff-assisted lane — useful for VIPs, walk-ins, or attendees who can’t find themselves in self-service.
3.2.1 - Log in to PheedLoop OnSite as in Step 1.1 above. From the OnSite home screen, select Check-In.
3.2.2 - Select Scan to scan an attendee’s QR code, or Search to look them up by name. After confirming, the badge prints to the connected printer.
Staff can repeat this for each attendee without ever entering Kiosk Mode. This is also the right setup for events that aren’t using self-service kiosks at all.
3.3 — Check in from the Event Dashboard
The Event Dashboard works for one-off manual check-ins (e.g., a registrant being checked in from the back office, or after the fact), or as the entire check-in method for small events with no kiosk.
3.3.1 - From the Event Dashboard, navigate to Attendees > Attendees.
3.3.2 - Select the checkbox next to the attendee.
3.3.3 - Above the table, select Actions > Check In/Out > Check In to Event.
A confirmation appears, and the attendee will receive a check-in email unless you’ve disabled it under OnSite > Settings.
3.4 — Check in from the On Site Kiosk (browser)
The On Site Kiosk is the browser-based version of the OnSite app — same check-in flow as the iPad, runs in any web browser. Useful if you need check-in on a laptop or computer instead of an iPad.
3.4.1 - From the Event Dashboard, navigate to Event Portals > On Site Kiosk.
3.4.2 - Copy the URL and open it on any device with a browser.
3.4.3 - Log in with a Team Member or Staff Member’s credentials, using your Event Code.
From there, Scan and Search work the same way as on the iPad app.
Switching printers during the day
Any iPad can print to any printer connected to your event, and you can change which printer an iPad uses at any time. Useful if a paired printer goes offline, you’re consolidating lanes mid-event, or you’re moving an iPad to a different desk.
1 - On the iPad, select Powered by PheedLoop in the top-left corner to exit Kiosk Mode.
2 - From the OnSite home screen, select Check-In.
3 - Under Setup, select Printers.
4 - Select a different printer from the list.
5 - Select Enter Kiosk Mode at the bottom of the screen to return to the kiosk experience.
Badges from this iPad will now print to the new printer.
Reprinting badges
Most events get a handful of reprint requests during the day — damaged badges, name corrections, attendees who lost theirs after checking in. There are two ways to reprint, and the decision about which to enable is a stock-management decision.
From the Event Dashboard (always available)
Dashboard reprints work regardless of kiosk settings, so this is the reliable fallback for any reprint scenario.
1 - From the Event Dashboard, navigate to Attendees > Attendees.
2 - Select the checkbox next to the attendee who needs a reprint.
3 - Above the table, select Actions > Print Badge.
The badge prints to the printer currently selected in that iPad/kiosk session.
From the iPad at the kiosk (requires a profile toggle)
Attendees can reprint their own badges directly at the kiosk only if Allow Badge Reprints is toggled on in the Kiosk Profile for that iPad. When enabled, an attendee who has already checked in will see a Reprint option when they scan or search themselves at the kiosk.
To toggle this on, navigate to OnSite > Kiosks, select the profile, and toggle on Allow Badge Reprints under Badge Printing Settings. See Customizing Your Check-In Experience with Kiosk Profiles for the full profile reference.
Choosing whether to allow self-service reprints
Whether to enable Allow Badge Reprints is more of a stock-management decision than a workflow one. Compare your expected attendee count against the amount of extra badge stock you have on hand:
- Plenty of extra stock? Toggle Allow Badge Reprints on. Attendees handle their own damaged or lost badges without tying up staff. Higher stock consumption, smoother attendee experience.
- Tight on stock? Toggle Allow Badge Reprints off. All reprints flow through staff at the Dashboard, giving you a checkpoint on every reprint and protecting stock for new check-ins.
You can change this setting mid-event if needed.
Step 4 — Monitor live check-ins
You can watch check-in numbers in real time from the Event Dashboard.
4.1 - From the Event Dashboard, navigate to General > Event Pulse > Check-Ins.
4.2 - Refresh the page if needed to view an updated count.
This field shows a live count of checked-in attendees, updating for each person that checks in and prints their badge. Useful for tracking attendance against registration numbers and spotting slowdowns at the desk.

Step 5 — Pull a check-in report
After the event, export a full attendee check-in list from Custom Reports.
5.1 - From the Event Dashboard, navigate to Data & Reports > Reporting > Custom Reports.
5.2 - Select Attendee Report from the list, or create a new report by selecting Create and selecting Attendees from the Report Type dropdown.
5.3 - Under Fields, select Checked In along with any other fields you need (Full Name, Check In Date/Time, Badge Printed, etc.).
5.4 - Select Save Changes.
5.5 - Select the checkbox next to Attendee Report (or your new report).
5.6 - Above the table, select Actions > Generate Report.
5.7 - Once generated, select Download Previous Report.
The report includes a column showing each attendee’s check-in status.

Quick Tips
- The kiosk automatically returns to the splash screen after the idle timeout (default 60 seconds). Adjust this in the Kiosk Profile under Configuration > Idle Timeout if the timing doesn’t suit your desk flow.
- To disable check-in confirmation emails sent to attendees, navigate to OnSite > Settings, toggle off Send Check-In Welcome Email, and select Save Changes.
- For session check-in — tracking attendance at individual sessions during the event — see Using Session Check-In with PheedLoop OnSite.