How Can I Print Different Badge Templates for Each of My Attendee Groups?
To print different badge templates for each of your attendee groups, you will use a feature called Connected Tags within the Badge Label Designer. Connected Tags links attendee tags to specific badge templates, so the correct badge prints automatically at check-in without any manual intervention from your staff.
By assigning specific tags—such as "Speaker," "Exhibitor," or "VIP"—to your attendee profiles, you can link those tags to unique custom badge templates. When an attendee checks in, PheedLoop OnSite automatically detects their assigned tag and instantly prints the correct badge designed specifically for their group. Attendees without a specific tag will simply print the standard default template you have created.
Because the system handles this routing automatically, your on-site staff members do not need to perform any manual template switching or special actions during check-in.
How to Assign Connected Tags to a Template
-
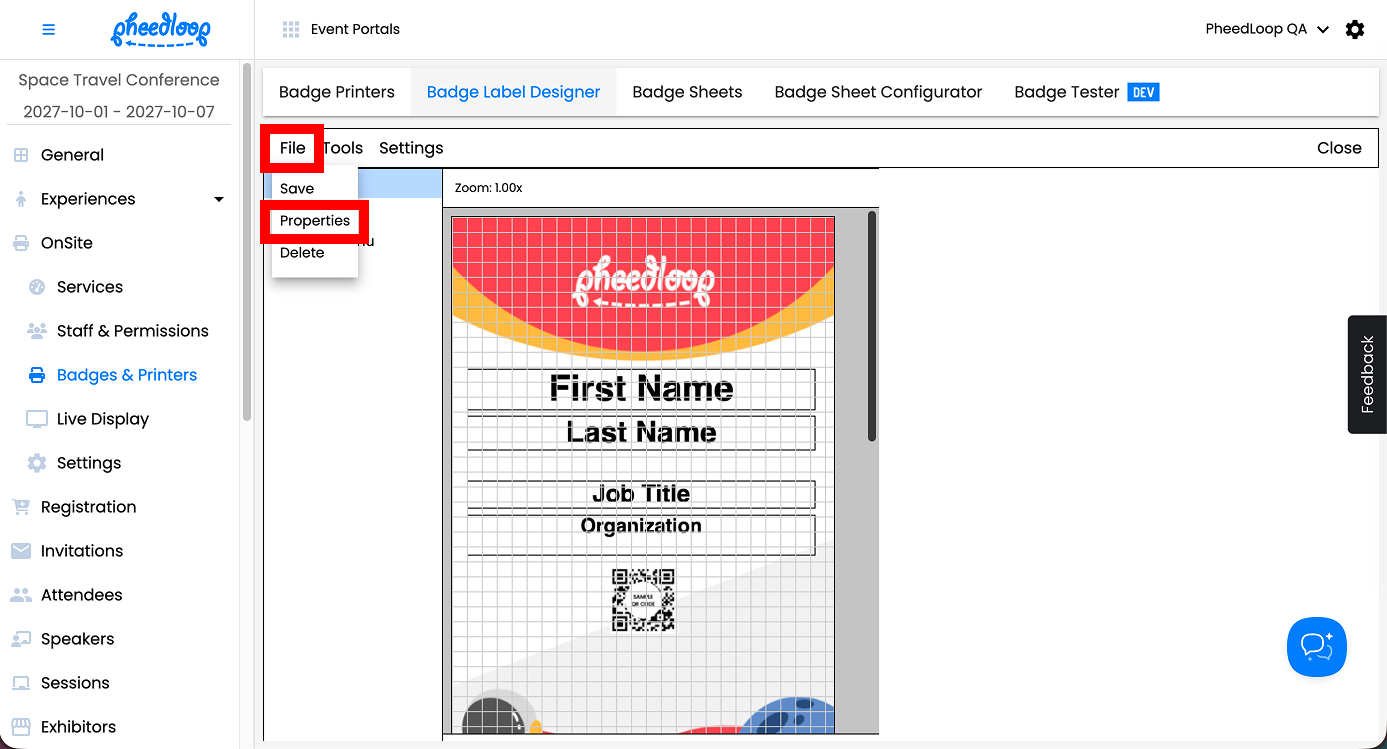
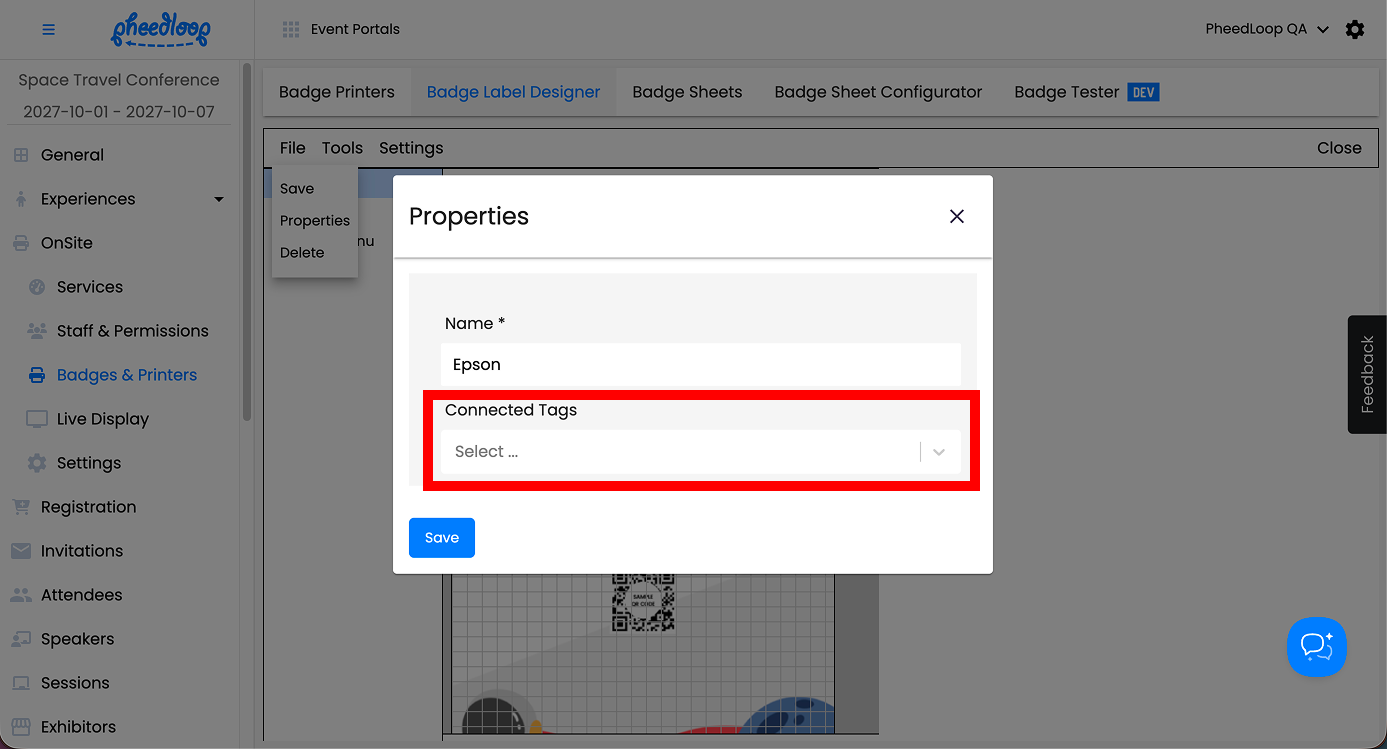
From the Badge Label Designer, select File > Properties
- Under the Connected Tags field, select the tags you wish to associate the badge template with
- Multiple tags can be connected to the same template. The attendee only needs to have one of the Connected Tags in their profile to match the badge template and have their badge printed.
-
Select Save


Using a Default Template
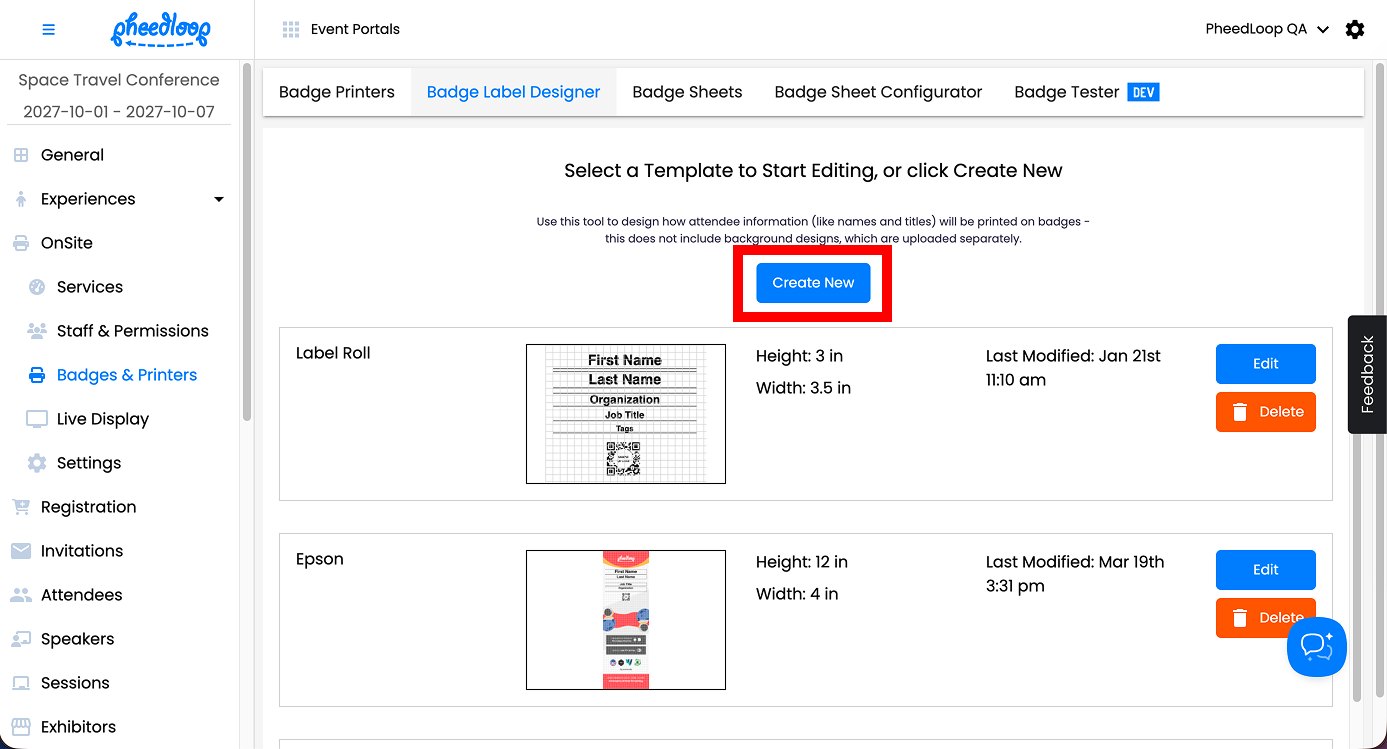
When using connected tags, it is important to have at least one other template without any connected tags. This is to ensure that attendee badges will still be printed even without the connected tags. In most cases, this template serves as the general template for attendees.
- From the Event Dashboard, navigate to OnSite > Badges & Printers > Badge Label Designer
-
Select Create New
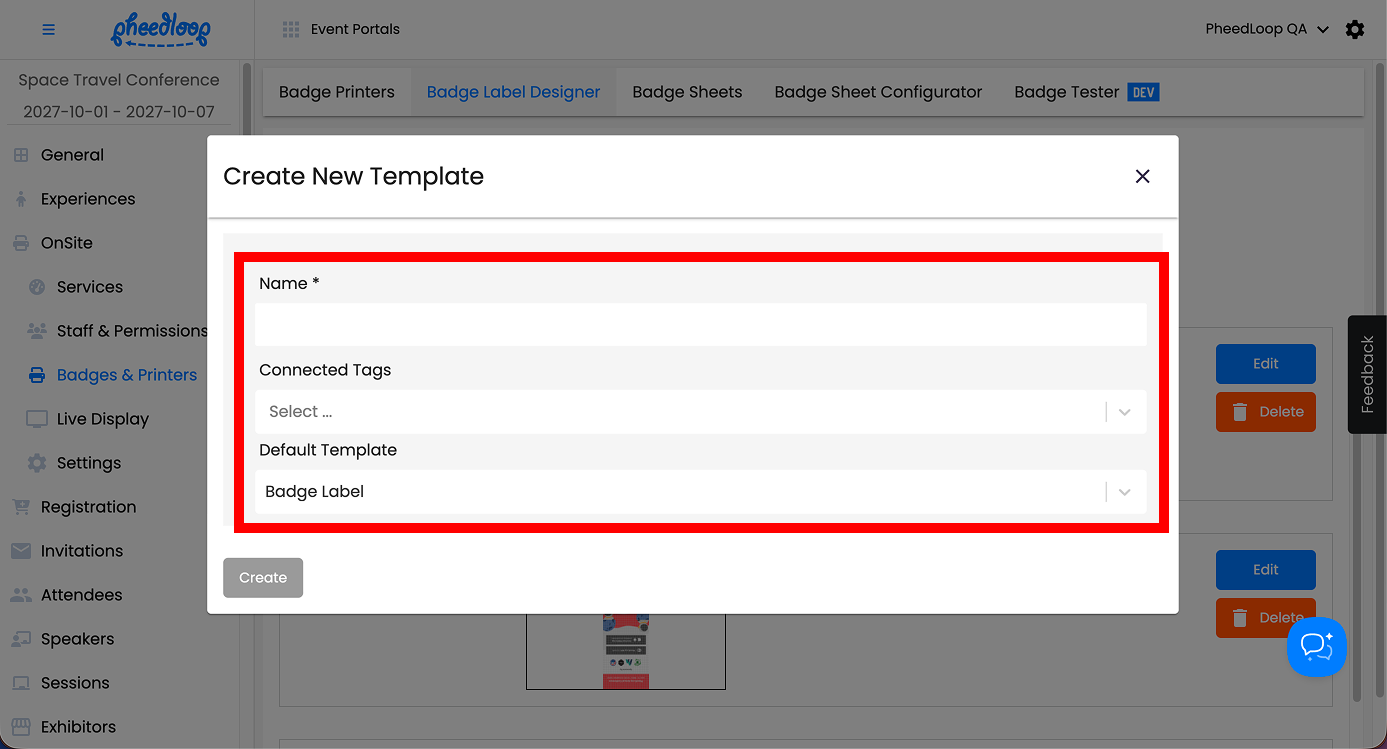
- Under the Name field, enter the name of the template
- Under the Default Template
- Select Badge Label if you are using label rolls.
- Select Badge Direct Thermal if you are using Direct Thermal Badges.
- Select Ticketed Thermal Badge if you are using Direct Thermal Badges with tickets attached.
- Select Epson Colorworks badge if you are using Epson printers as your badge printing solution.
-
Select Create


If you would like to learn more about editing the template, please review our Setting Up Your Badge Label Template for On-site Badge Printing article.
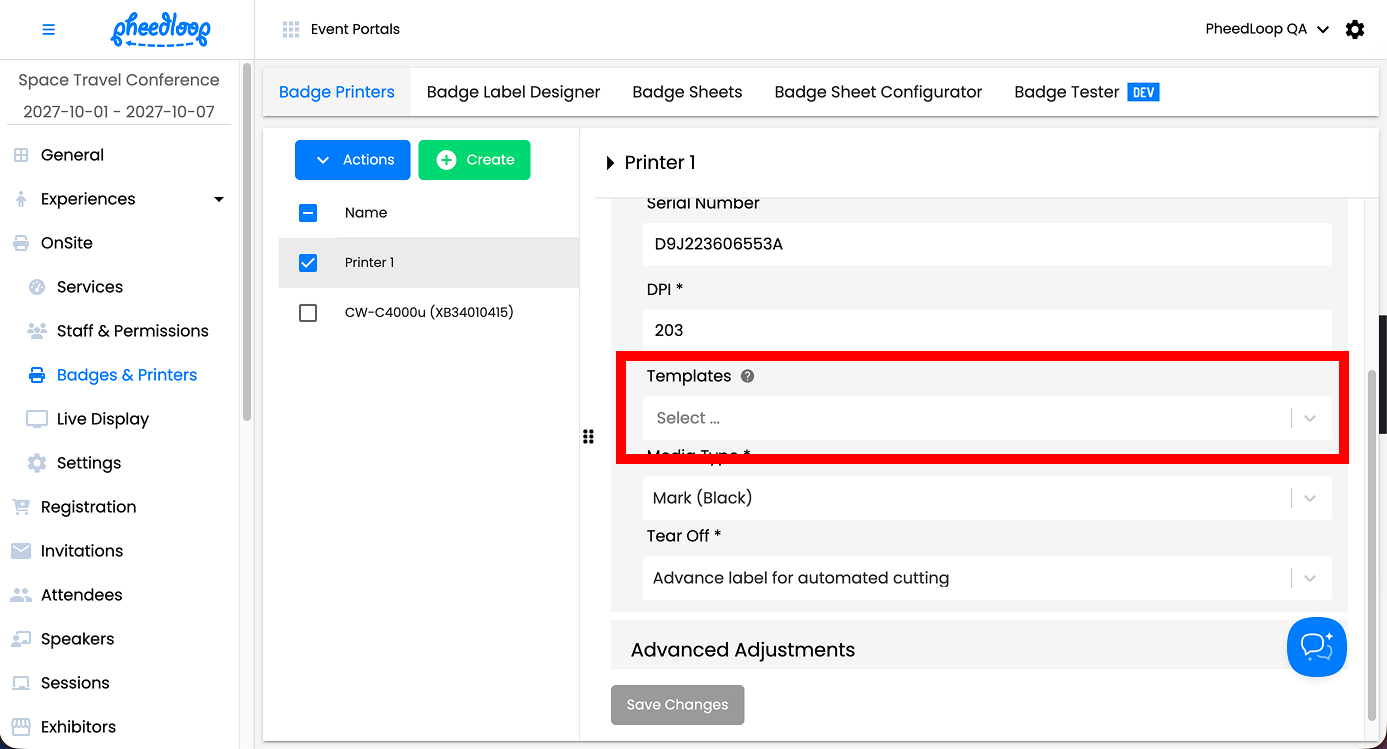
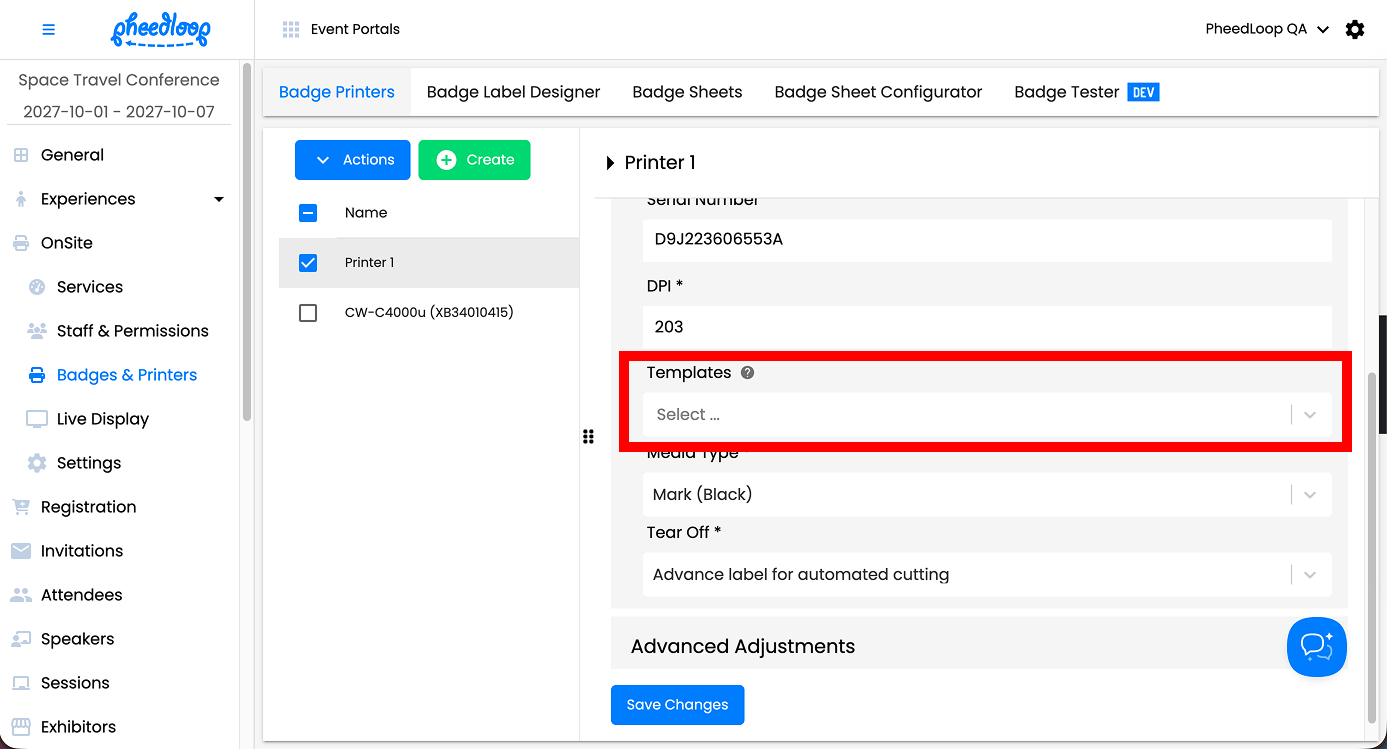
Once your templates are set up, connect both the connected tag template and the default template to your printer in the Event Dashboard. If you wish to restrict the printer to the connected tag template you can disregard this step.
- From the Event Dashboard, navigate to OnSite > Badges & Printers > Badge Printers
- Select the printer you wish to assign the template to
- Under the Templates field, select the connected tags template and the default template
-
Select Save Changes

Use Cases for Connected Tags
A common use case for connected tags is when event organizers wish to keep badge printing in designated areas. For example, an event may have unique templates for attendees and exhibitors to use. In this example, we can make use of connected tags to print out the desired template for both.
Simply assign the desired template to the printer from the Event Dashboard. The printer will now only be able to print out the selected template. If an attendee without the required tag attempts to print, they will receive an error message.
- From the Event Dashboard, navigate to OnSite > Badges & Printers > Badge Printers
- Select the printer you wish to assign the template to
- Under the Templates field, select the connected tag template for your printer
-
Select Save Changes


Now that the templates have been assigned to your printer, you will now want to assign the printers to PheedLoop OnSite for your iPads.
-
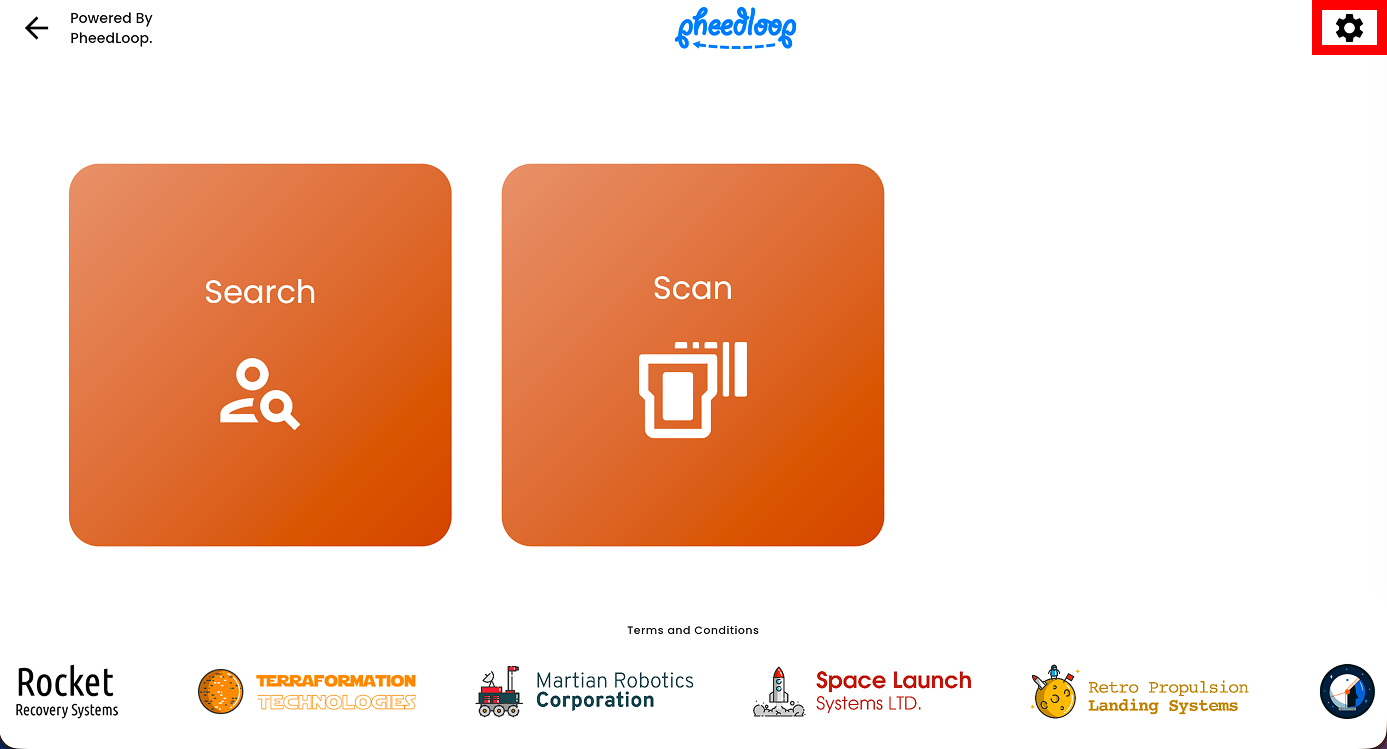
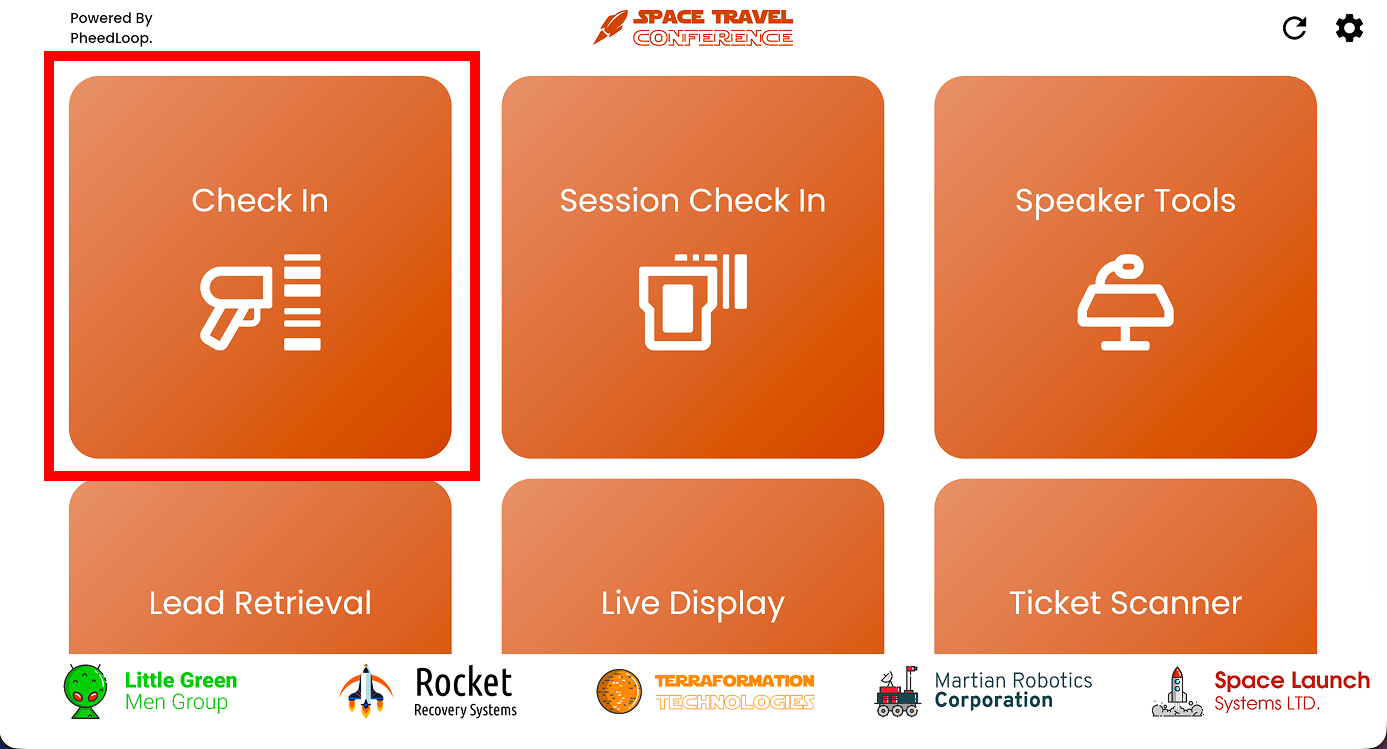
From PheedLoop OnSite, navigate to Check In

-
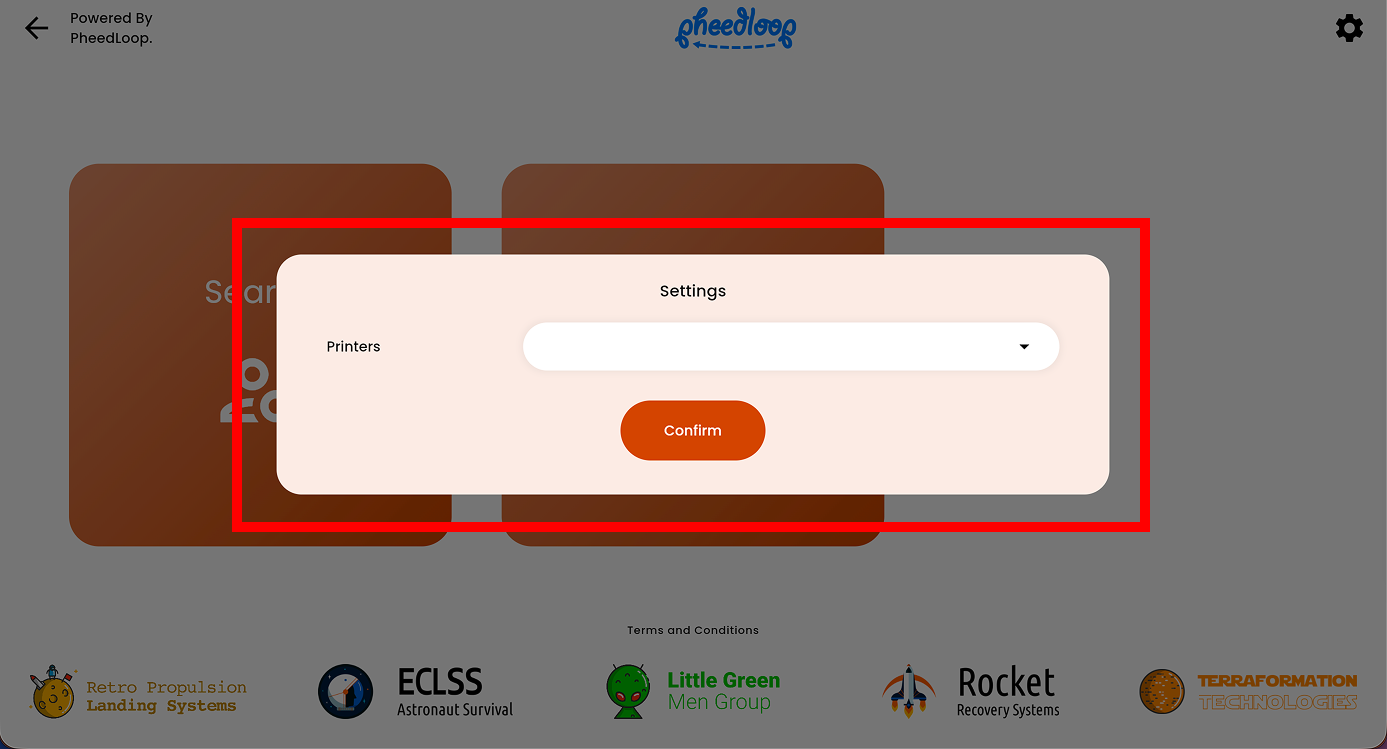
Select the gear icon on the top right corner
- Under the Printers field, select the printer you wish to assign the iPad to
-
Select Confirm


A more advanced use case for connected tags would be cases where all printers need to be capable of printing a default template, but not all of them should be able to print out the connected tags template. This use case commonly appears when there are not enough exhibitors to warrant a separate line. To resolve this, we can instruct attendees with a connected tag to line up in certain printers while still allowing them to print badges for regular attendees.
We will assign both the connected tags template and the default template to the printers. The printers will then print with either template depending on whether the attendee has the required tag.
- From the Event Dashboard, navigate to OnSite > Badges & Printers > Badge Printers
- Select the printer you wish to assign the template to
- Under the Templates field, select the connected tag template and default tag template for your printer
-
Select Save Changes

The printer will now have the capability of printing both templates and distinguishing between attendees and exhibitors as they check in to the event. Now that the templates have been assigned to your printer, you will now want to assign the printers to PheedLoop OnSite for your iPads.
-
From PheedLoop OnSite, navigate to Check In
-
Select the gear icon on the top right corner

- Under the Printers field, select the printer you wish to assign the iPad to
-
Select Confirm


Frequently Asked Questions for Connected Tags
What happens if an attendee is assigned multiple connected tags?
Connected Tags follow an alphabetical order, meaning the connected tag that is higher in ascending order will be chosen. For example, if an attendee has an exhibitor and speaker tag templates, the system will print the template with the exhibitor tag.
It is still possible to print different templates for attendees from the Event Dashboard regardless of the connected tags assigned to the template.
I am receiving an error message on PheedLoop OnSite that reads “the selected printers are not configured to print this attendees badge”
This error message appears when the device using PheedLoop OnSite is connected to a printer that has been assigned to a connected tag template. If the attendee does not have the prerequisite tag, the print will not go through.
To fix this issue, either remove the template from the printer in the Event Dashboard or add an additional template without any connected tags so that the printer will use that template instead.